
2. Day-to-Day Note Operations
This chapter covers the full lifecycle of a PinSlip note: creating, editing, formatting, moving, and collapsing.
2.1 Creating a Note
Four ways to create one — pick whichever fits the moment:
Scenario | Entry point |
|---|---|
Add a note next to another | + in the note's title bar. Creates a note in the root, or, if the current note is in a subfolder, lets you pick between creating it in the same folder or the root. |
Create from the main window | New Note at the top. |
Create inside the current folder | The + on the right side of the current folder in Folder view (the plus with no folder icon). |
Lightning-fast thought capture | Global shortcut |
Defaults for a New Note
Pinned by default ✅
Default color: Yellow 🟡
Default directory: Root (
notes/)Default font size: 100%
2.2 Title Bar (Left to Right)
From left to right, each note window's title bar contains:
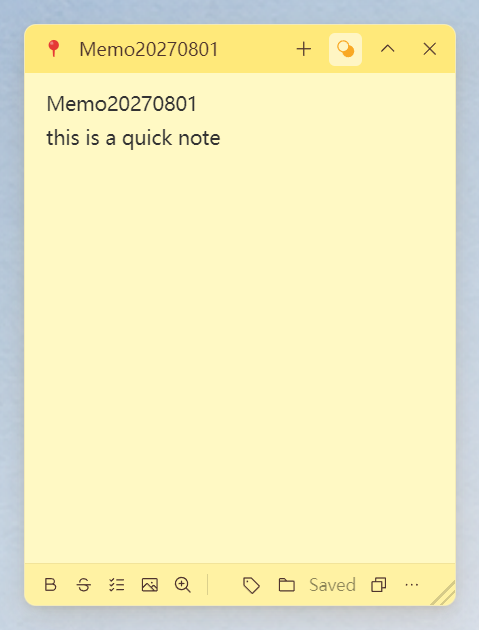
Button | Action |
|---|---|
📌 Red pin | Pin / unpin. Pinned notes always float above the rest; unpinned notes still keep a taskbar icon so you can find them anytime. |
Title (auto) | The first meaningful line of the body — no manual naming needed. |
+ | Create a note. If the current note is in a subfolder, you can pick same-folder or root. |
🎨 Color | A palette slides out from the right — six colors to choose from. |
▁ / ▽ | Collapse to a title bar / expand to the full note (with a 180ms roll-up animation). |
× | Close the note. Content is auto-saved to the storage directory. |
2.3 Editor
PinSlip uses Milkdown as its Markdown editor — what you see is what you get.
Markdown Shortcuts
Just type — these shortcuts work inline:
Input | Effect |
|---|---|
| H1 heading |
| H2 / H3 heading |
| Bulleted list |
| Numbered list |
| Task checkbox (you can also click to check / uncheck) |
| Blockquote |
| Bold |
| Italic |
| Strikethrough |
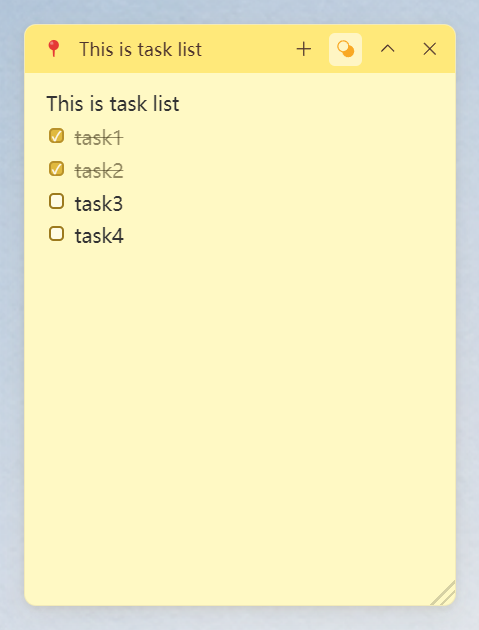
Task Checkboxes
Type
- [ ]or click the checkbox button in the bottom toolbar to start a listClick directly on a checkbox to toggle it
Great for to-do lists
Pasting Images
Ctrl+V to paste an image. PinSlip automatically:

Saves the image to
/attachments/Writes a relative path into the Markdown (with
../prefixes added based on the note's folder depth)Keeps the image visible when you open the file in Obsidian / VS Code or any editor that supports relative paths
Supported image formats: png / jpg / gif / webp.
Copy All
The Copy All button in the bottom toolbar converts the note body to plain Markdown and copies it to the clipboard. On success the icon briefly becomes a ✅ to confirm.
Handy for dropping content into an AI assistant, a coworker, or an email.
2.4 Bottom Toolbar
When a note is focused, the bottom toolbar appears (it fades out automatically when the cursor leaves).

Left: Editing Helpers
Bold B
Strikethrough S
Task list ☑
Insert image 🖼 — click to upload an image from another folder
A+ / A− Font size zoom
Right: Classification
🏷 Tags: opens the tag panel; type and press Enter to add; click × to remove (see 03-Organization)
📁 Folder: panel shows the current location; you can "open the directory" or move the note to another folder
Save status: live save indicator for every note (no "saving…" text when there's nothing to save)
Copy all: see above
⋯ More: note list, delete this note
Adaptive Button Width
When the window is narrow, the toolbar hides lower-priority buttons:
Always kept: Bold + Tags + Folder + ⋯
The font-size controls hidden by the layout are still available in the ⋯ menu.
Font Size Zoom
A+ / A− zooms in 10% steps
Range: 50% ~ 200%, default 100%
Only the heading and body fonts scale — the title bar and buttons stay the same.
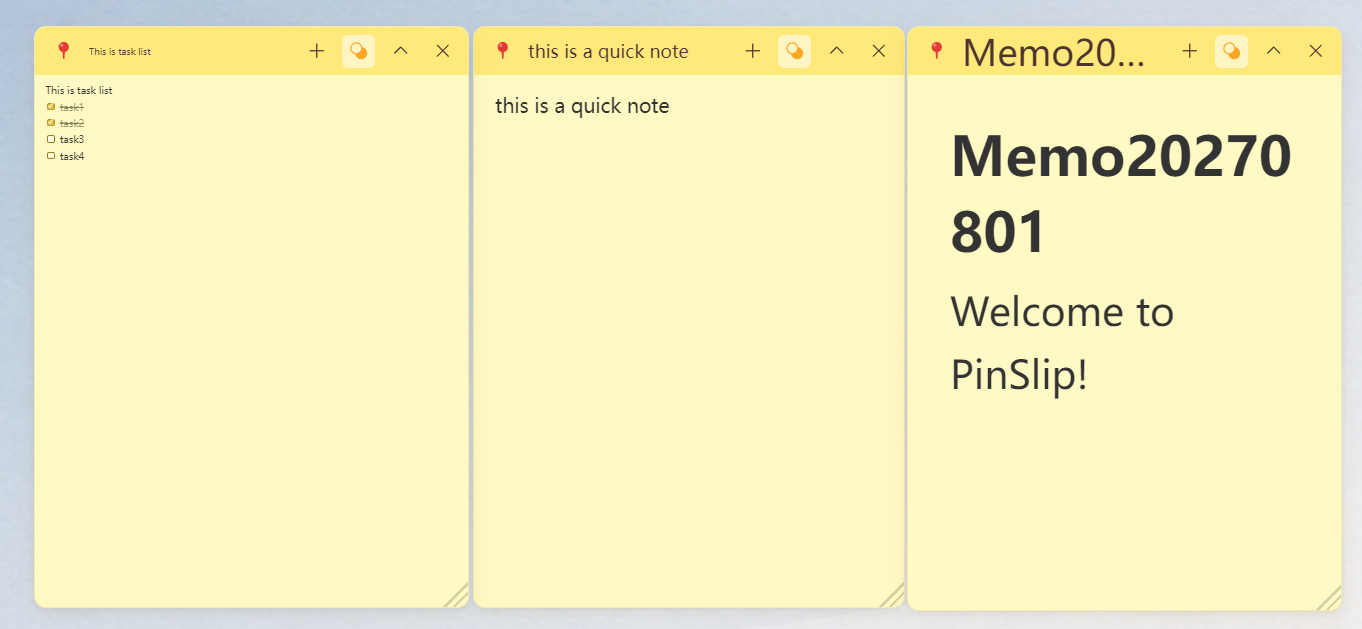
2.5 Moving and Resizing
Move
Drag any empty area of the title bar to move the note
When you drag close to any screen edge, the note auto-snaps to it
Resize
Drag the note's edges or the bottom-right corner to resize
2.6 Collapse and Pin
Collapse
Click the down arrow in the title bar to toggle
Collapsed notes become title bars
Expand to restore the original size
Pin
Click the red pin to toggle
Pinned notes always float above all unpinned notes
The state is persisted immediately
Unpinned notes still appear in the Windows taskbar so you can find them anytime.
On macOS, notes show a small icon in the Dock.
2.7 Edge Snapping and Magnetic Alignment
This is the heart of PinSlip's desktop behavior.
Edge Snapping
Drag a note near any screen edge and it auto-snaps
If a note is dragged outside the visible screen area, PinSlip pulls it back automatically
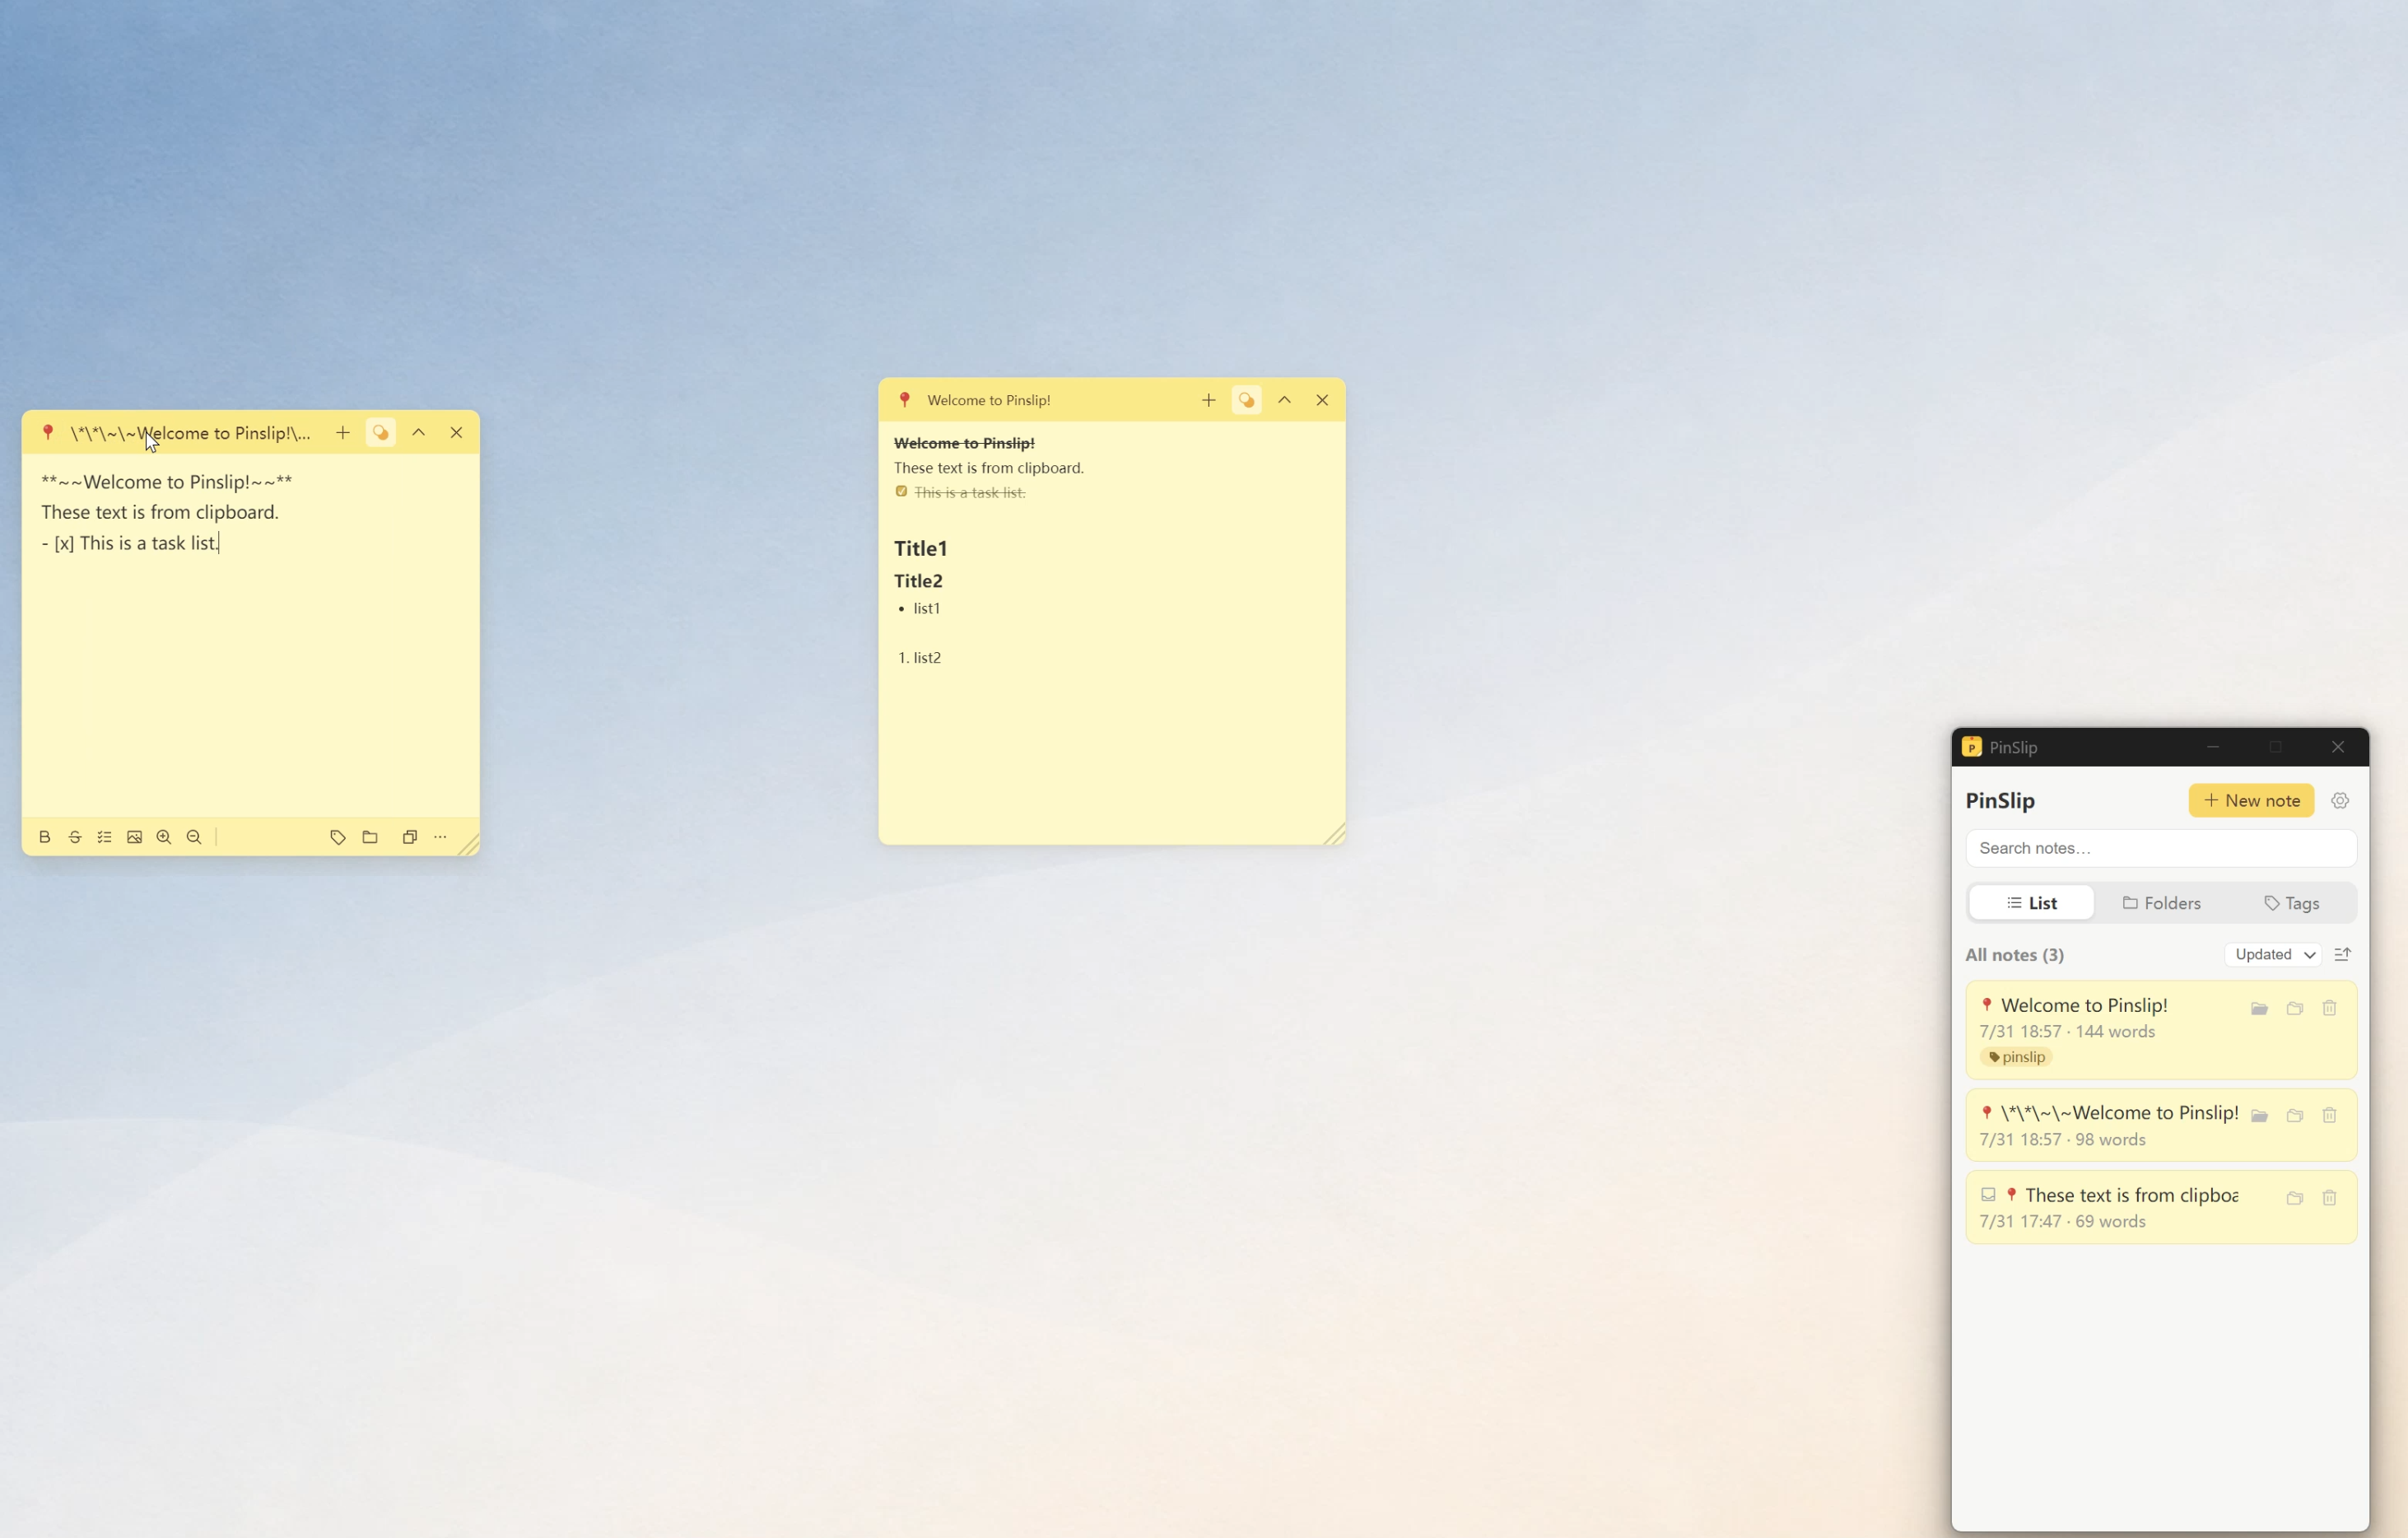
Magnetic Alignment
When two pinned notes get close horizontally or vertically, they auto-align
You can keep a row of notes perfectly lined up along the edge of your screen
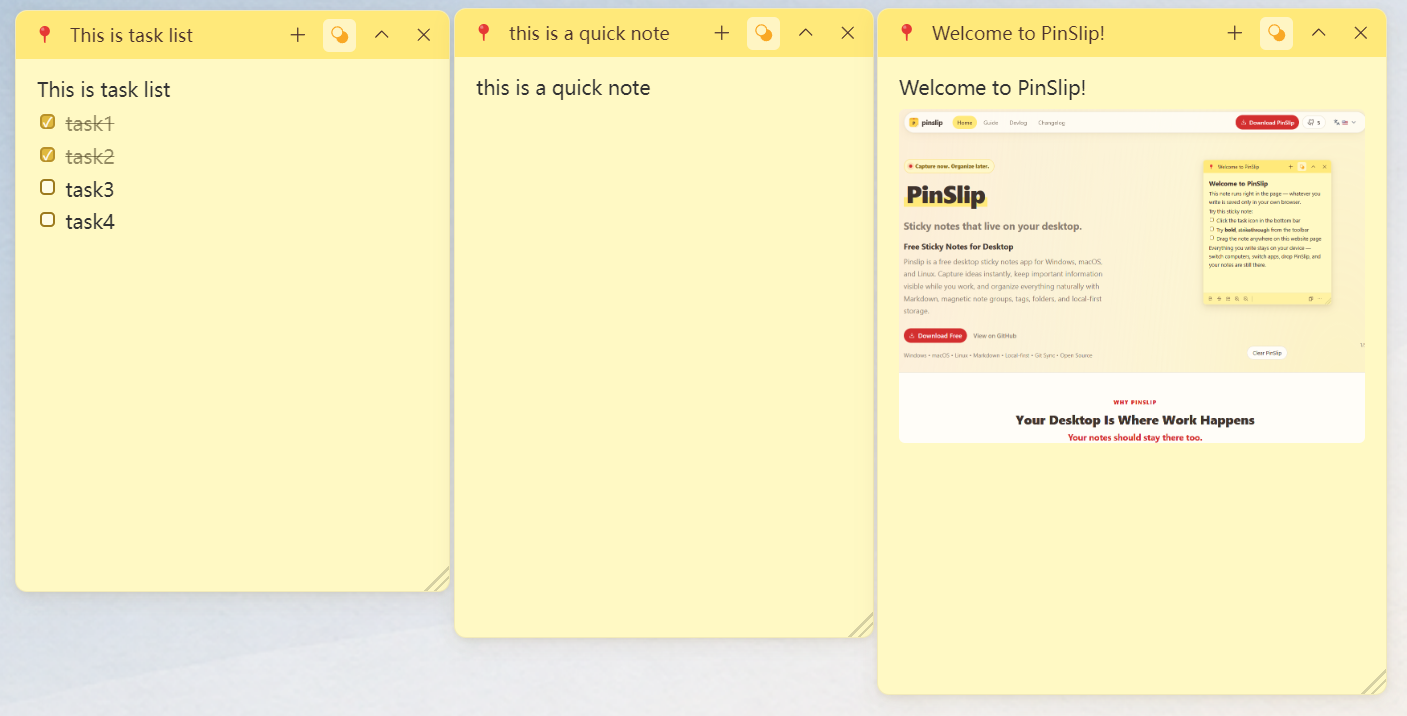
Auto-Recover on Display Change
After reopening the app, all note positions / sizes / collapsed states / groups restore exactly as they were
Windows pulled off-screen by a disconnected external monitor snap back into view automatically
2.8 Save Status
Changes are saved live as you edit
Closing a note or quitting the app is never lossy
When an external editor (Obsidian / VS Code) modifies the same file, PinSlip notices:
If you're not editing → auto-reload with a "synced" toast
If you're editing → a banner asks "load latest / keep mine" so you choose